Kit Masx
German WWII Aircraft Swastika, BLACK OUTLINE, 300 mm - 600 mm 1/48 National Insignia Paint Masks (48208M)
German WWII Aircraft Swastika, BLACK OUTLINE, 300 mm - 600 mm 1/48 National Insignia Paint Masks (48208M)
10 in stock
Couldn't load pickup availability
Product Details: Everything You Need to Know
👉 Why Choose this Set
- Three-Toned Historical Accuracy: Replicates the exact factory-applied tail insignia seen on legendary German fighters and bombers from 1941 through 1944.
- Smart 3-Layer Engineering: Cleverly designed stencil layers eliminate complex alignments, allowing you to easily build up the black core, white border, and black outer pinstripe with perfect symmetry.
- Say Goodbye to Decal Silvering: Painting this complex, high-contrast marking directly onto your model removes thick decal carrier film glare and sits perfectly flush inside deep rudder panel lines.
-
6 Common Sizes Included: Contains 24 total masks across 6 versatile sizes to perfectly fit everything from standard single-engine fighters to heavy night fighters.
👉 Included in this Set:
-
24 3-Layer German Swastika Tail Insignia Paint Masks in 6 Sizes
- 300 mm: (4) 6.3 mm
- 350 mm: (4) 7.3 mm
- 400 mm: (4) 8.3 mm
- 450 mm: (4) 9.4 mm
- 500 mm: (4) 10.4 mm
-
600 mm: (4) 12.5 mm
- Transfer Tape
👉 Application Tips and Additional Information
- Prepare Base Camouflage: Paint and completely dry your aircraft's multi-tone camouflage scheme first.
- Mark Alignment Points: Place a small piece of masking tape on the model surface beneath each alignment hole. Position Layer 1 on the model, then mark each hole onto the tape using a fine-tip permanent marker.
- Spray Layer 1 (The Thin Black Outline): Spray the exposed area solid black. Once dry, carefully peel away Layer 1. Leave the marking tape and alignment dots securely in place.
- Align & Spray Layer 2 (The White Border): Position Layer 2 by aligning its holes precisely over your marker dots. Press the mask down firmly, then spray the exposed area solid white. Once dry, carefully remove Layer 2.
- Align & Spray Layer 3 (The Black Center): Position Layer 3 using the same marker dots. Press down firmly, then spray the exposed core solid black.
- Reveal Finished Insignia: Carefully remove Layer 3 and the alignment tape to reveal your clean, crisp, three-toned Hakenkreuz.
➡️ We include transfer tape with each set! Transfer tape helps accurately transfer and position masks or decals onto the model's surface, maintaining alignment and design integrity while protecting the mask adhesive. Look for two 3"x6" pieces of transfer tape included with your masks. How to Apply Main Markings Using Transfer Tape
👉 Choose Your Material
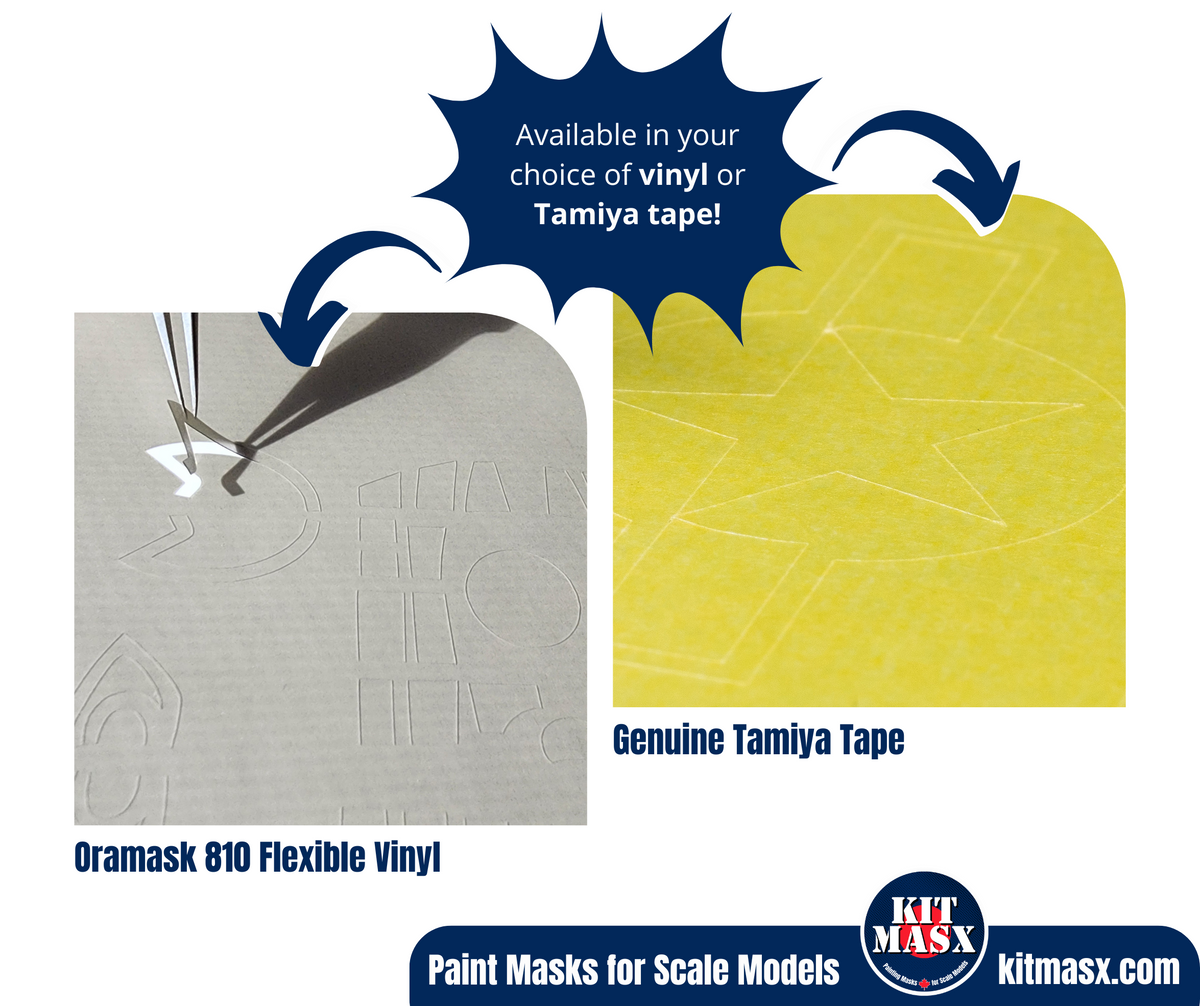
Each paint mask set is available in your choice of easy-to-apply Oramask 810 flexible vinyl or genuine Tamiya tape.
What's better - vinyl or Tamiya tape? Both work great! Choose vinyl if you plan to use your masks right away and Tamiya tape if you're tackling your project later on. Check out our FAQ for more info!
Item # 48-208MV / 48-208MT
🚩 Need this set in another scale? Send us a request!
Share