


Kit Masx
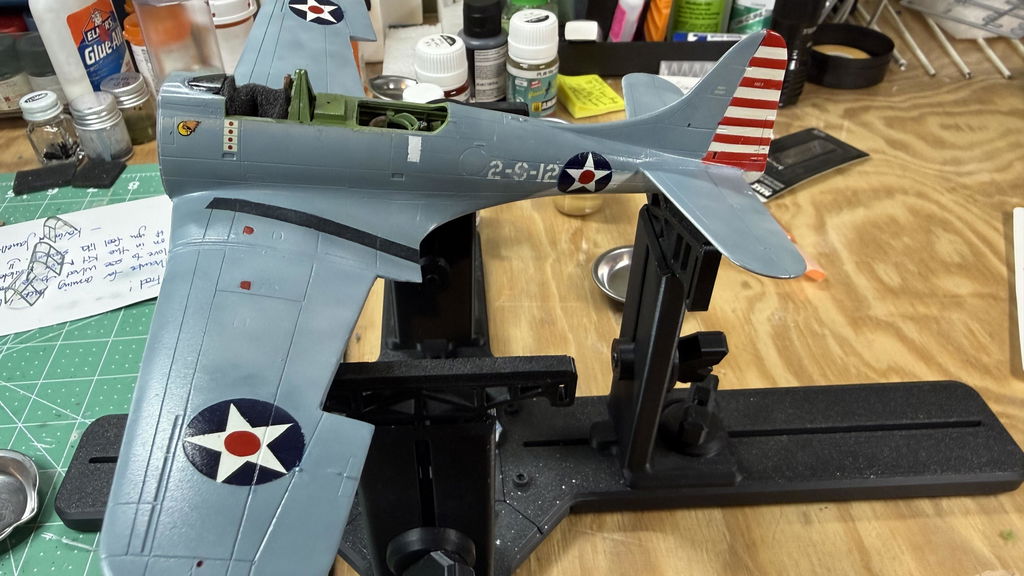
Hasegawa Douglas SBD-3 Dauntless VS-2 U.S. Navy (USS Lexington CV-2) 1/48 All-in-One Master Mask Set, Kit # 09119 (48117A1)
Hasegawa Douglas SBD-3 Dauntless VS-2 U.S. Navy (USS Lexington CV-2) 1/48 All-in-One Master Mask Set, Kit # 09119 (48117A1)
10 in stock
Couldn't load pickup availability
Product Details: Everything You Need to Know
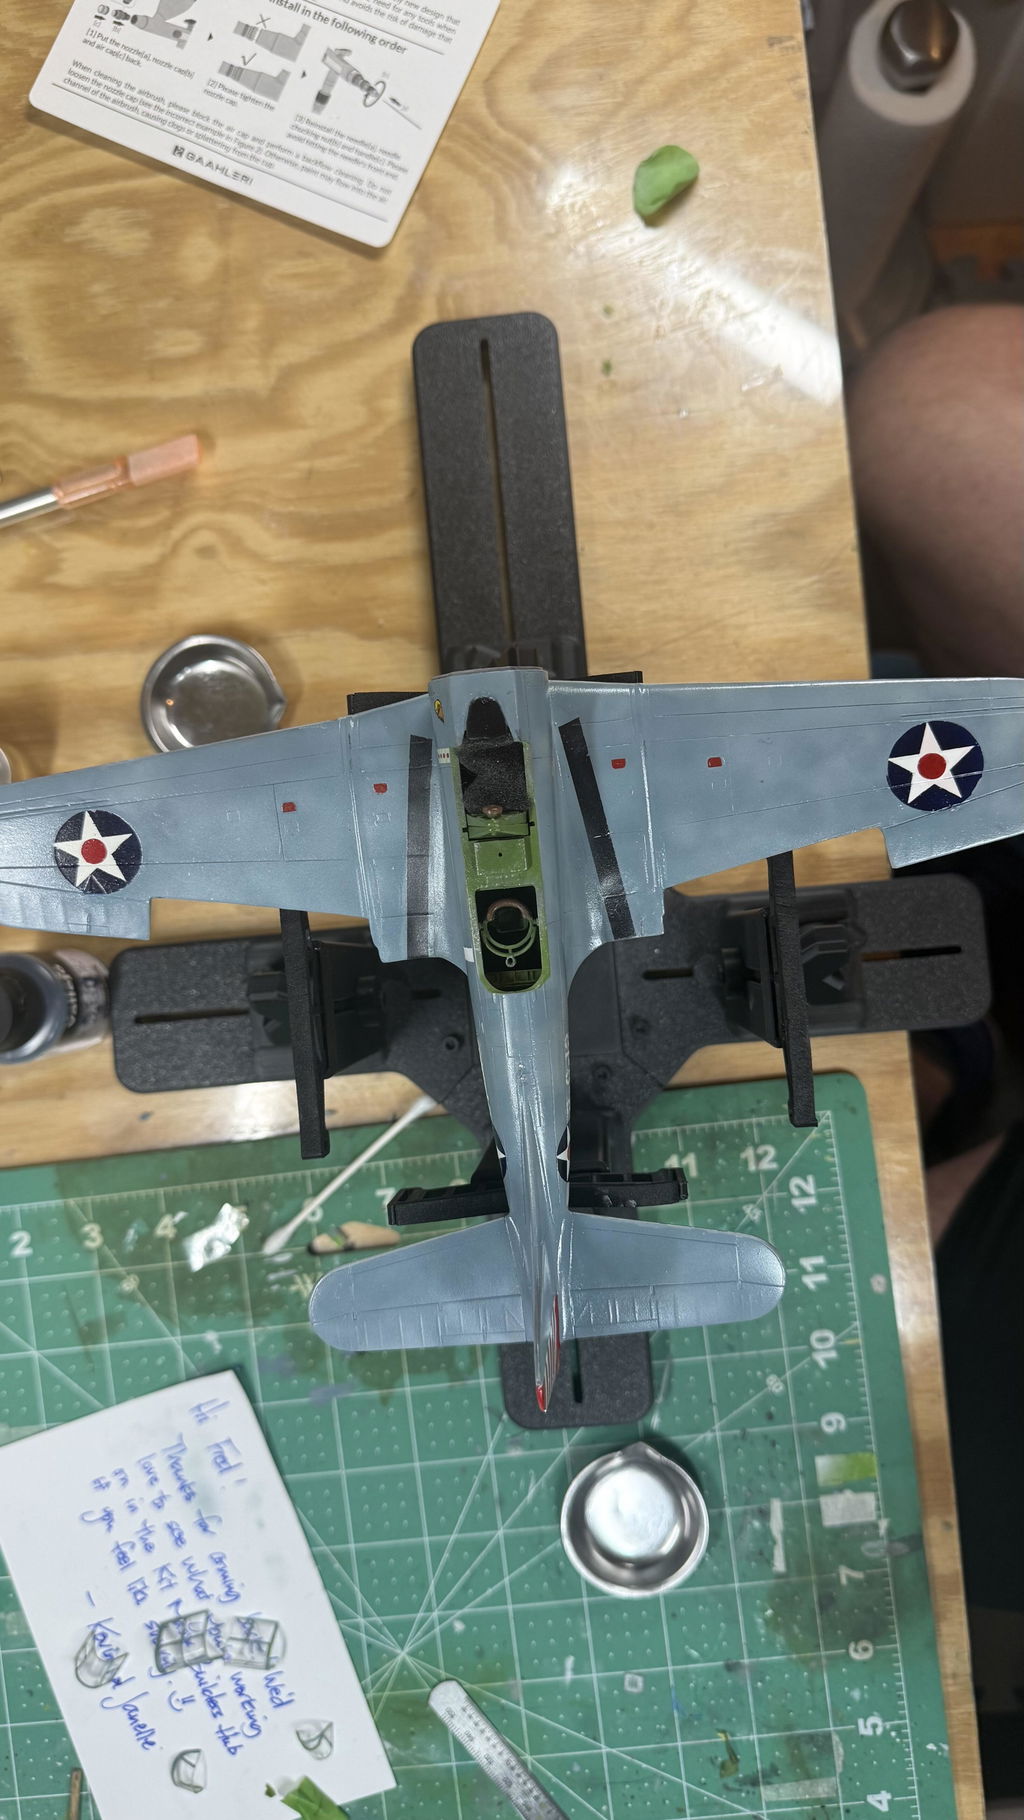
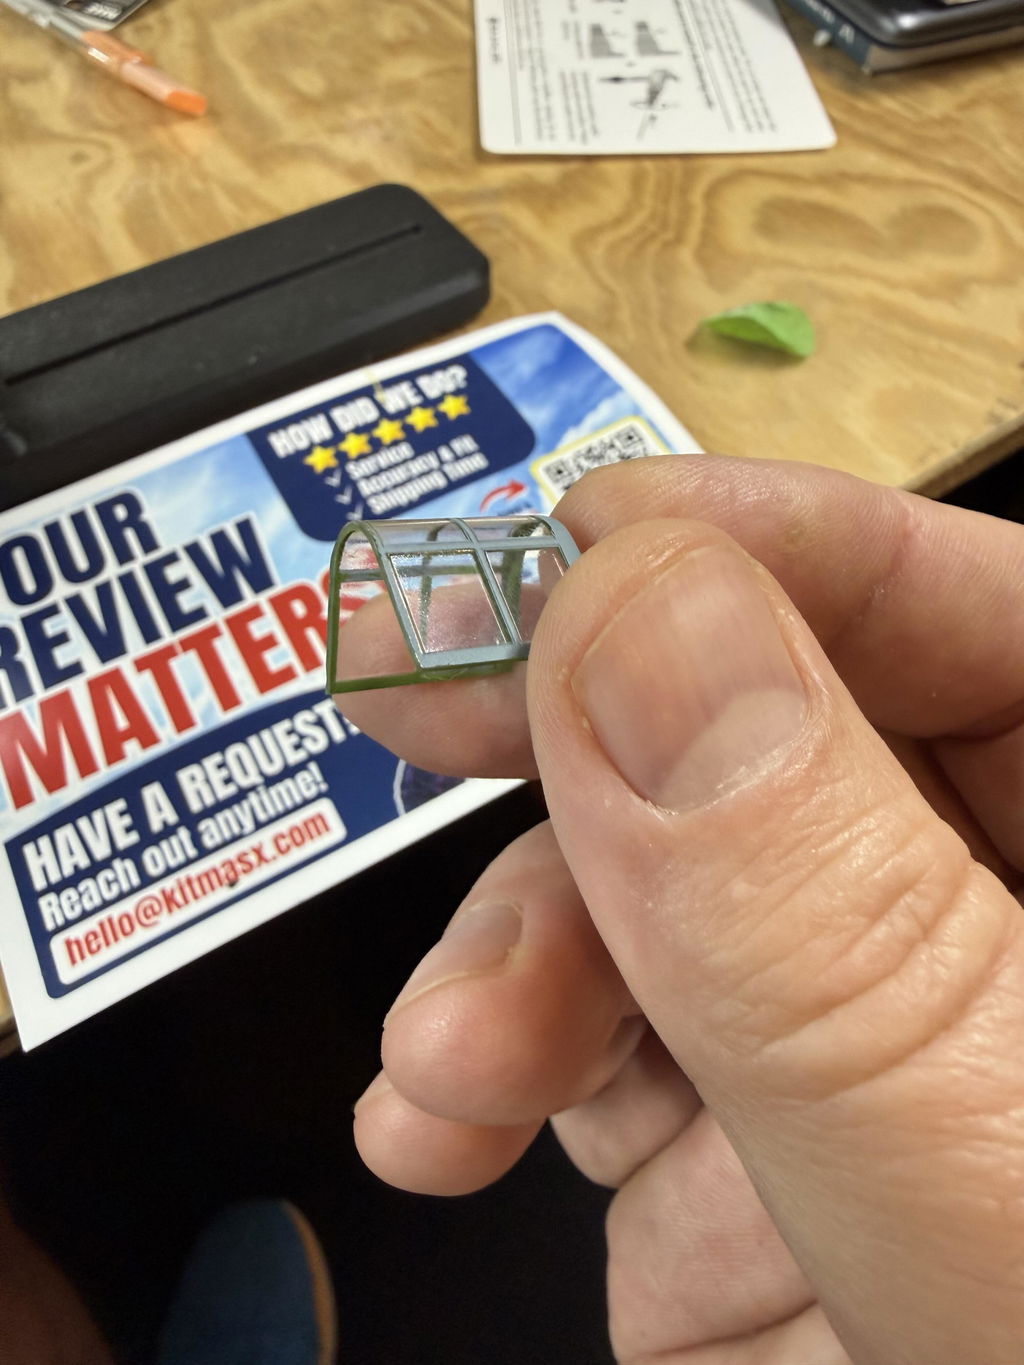
This All-in-One Master Mask Set includes paint masks for the inner and outer canopies and wheels of Hasegawa's SBD-1/3/4 or A-24A Dauntless PLUS masks to replace the VS-2 U.S. Navy (USS Lexington CV-2) marking option from Hasegawa kit # 09119, including codes, wing walks, tail flashes, and insignia.
➡️ This set can be used on any 1/48 SBD-3 Dauntless.
More Paint Masks for the 1/48 Douglas SBD-3 Dauntless
- Canopy & Wheel Mask Set
-
Main Marking Set: VS-2 U.S. Navy (USS Lexington CV-2)
- Main Marking Set: VS-5 U.S. Navy (USS Yorktown CV-5)
- Main Marking Set: VS-41 U.S. Navy (USS Ranger CV-4)
- All-in-One Master Mask Set: Canopy Masks + VS-5 U.S. Navy (USS Yorktown CV-5) Marking Masks
-
All-in-One Master Mask Set: Canopy Masks + VS-41 U.S. Navy (USS Ranger CV-4) Marking Masks
➡️ This set was created from: Hasegawa Kit # 09119.
Included in this Set:
👉 Complete Canopy and Wheel Mask Set
👉 Main Markings for VS-2 U.S. Navy (USS Lexington CV-2)
👉 Spare Practice Masks
👉 Transfer Tape
Canopy & Wheel Masks (by part #)
- E9/E10: Main Wheel Masks
- F1: Inner/Outer Pilot Canopy Masks
- F2: Inner/Outer Middle Canopy Masks
- F3: Inner Bulkhead Window Masks (both sides)
- F5: Inner/Outer Gunner Canopy Masks
- F6: Inner/Outer Rear Canopy Masks
- F7: Wing Landing Light Mask
- F8: Inner/Outer Front Windscreen Masks
VS-2 U.S. Navy (USS Lexington CV-2) Marking Masks (by part #):
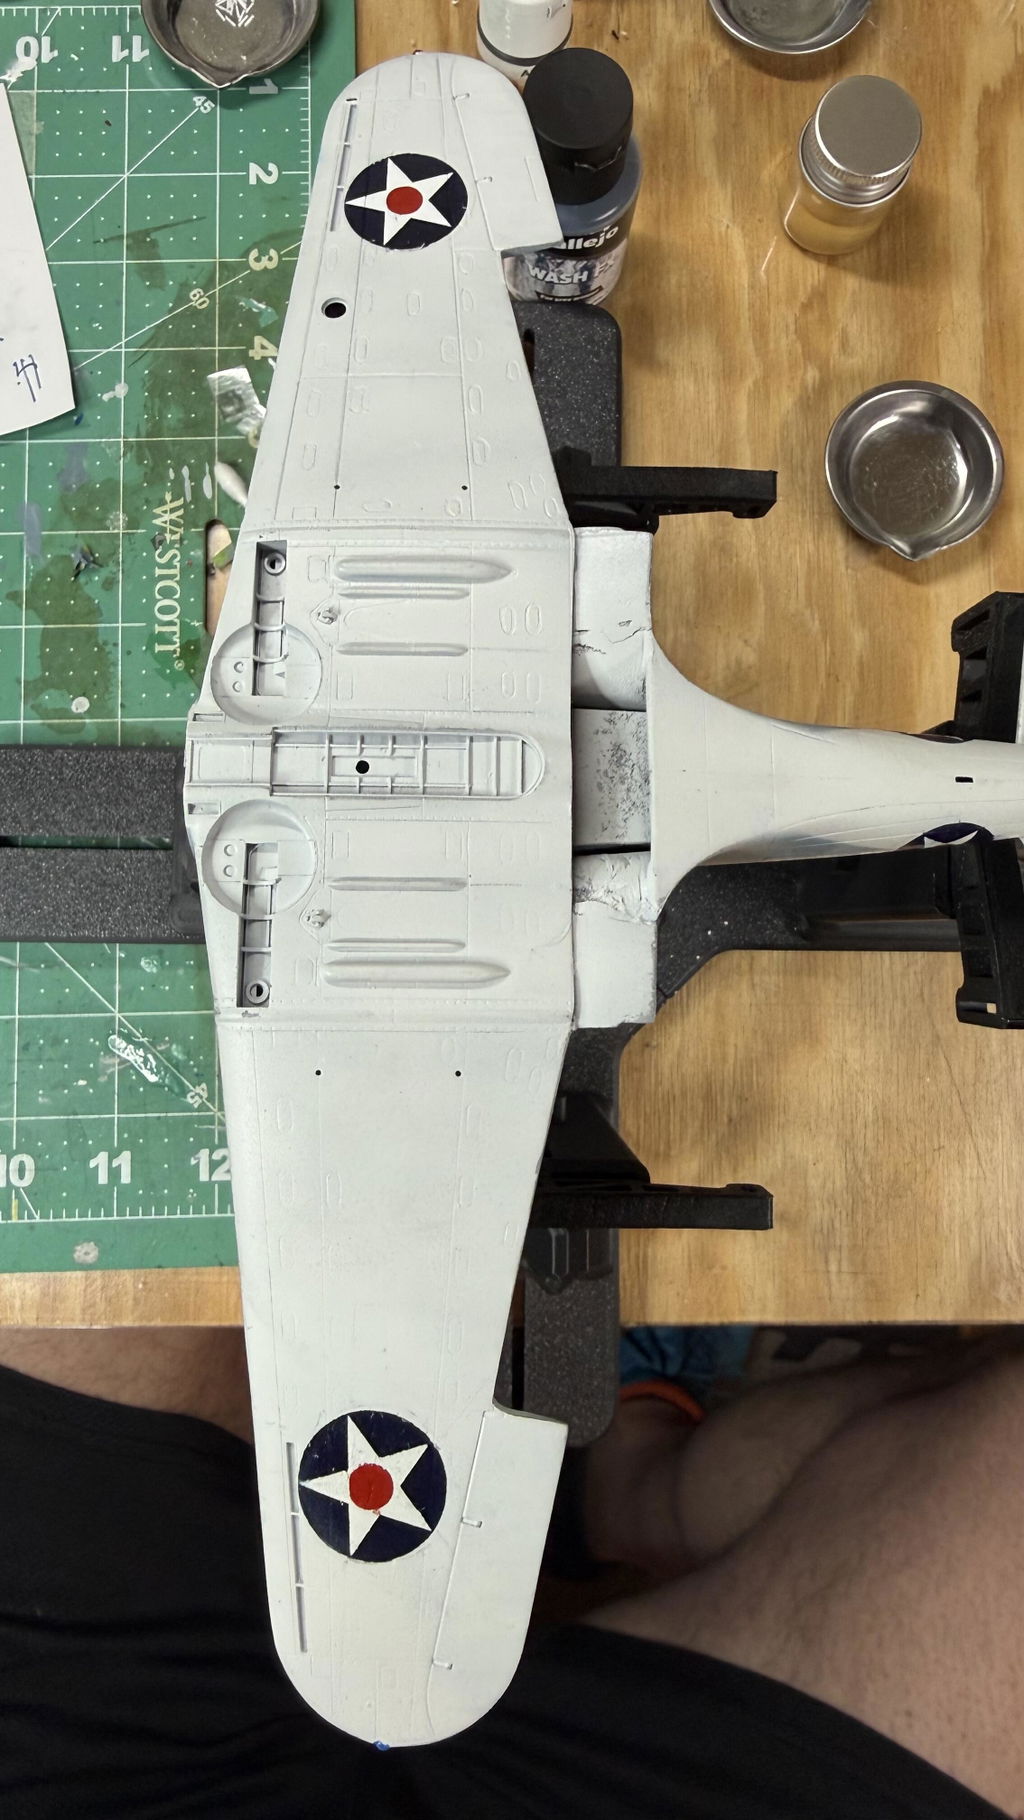
- 1: Upper & Lower Wing Insignia Masks (+1 spare)
- 4: Wing Marking Masks (+2 spares)
- 9: Port/Starboard Fuselage Insignia Masks (+1 spare)
- 13: Squadron Code Masks, “2-S-12” (+2 spares)
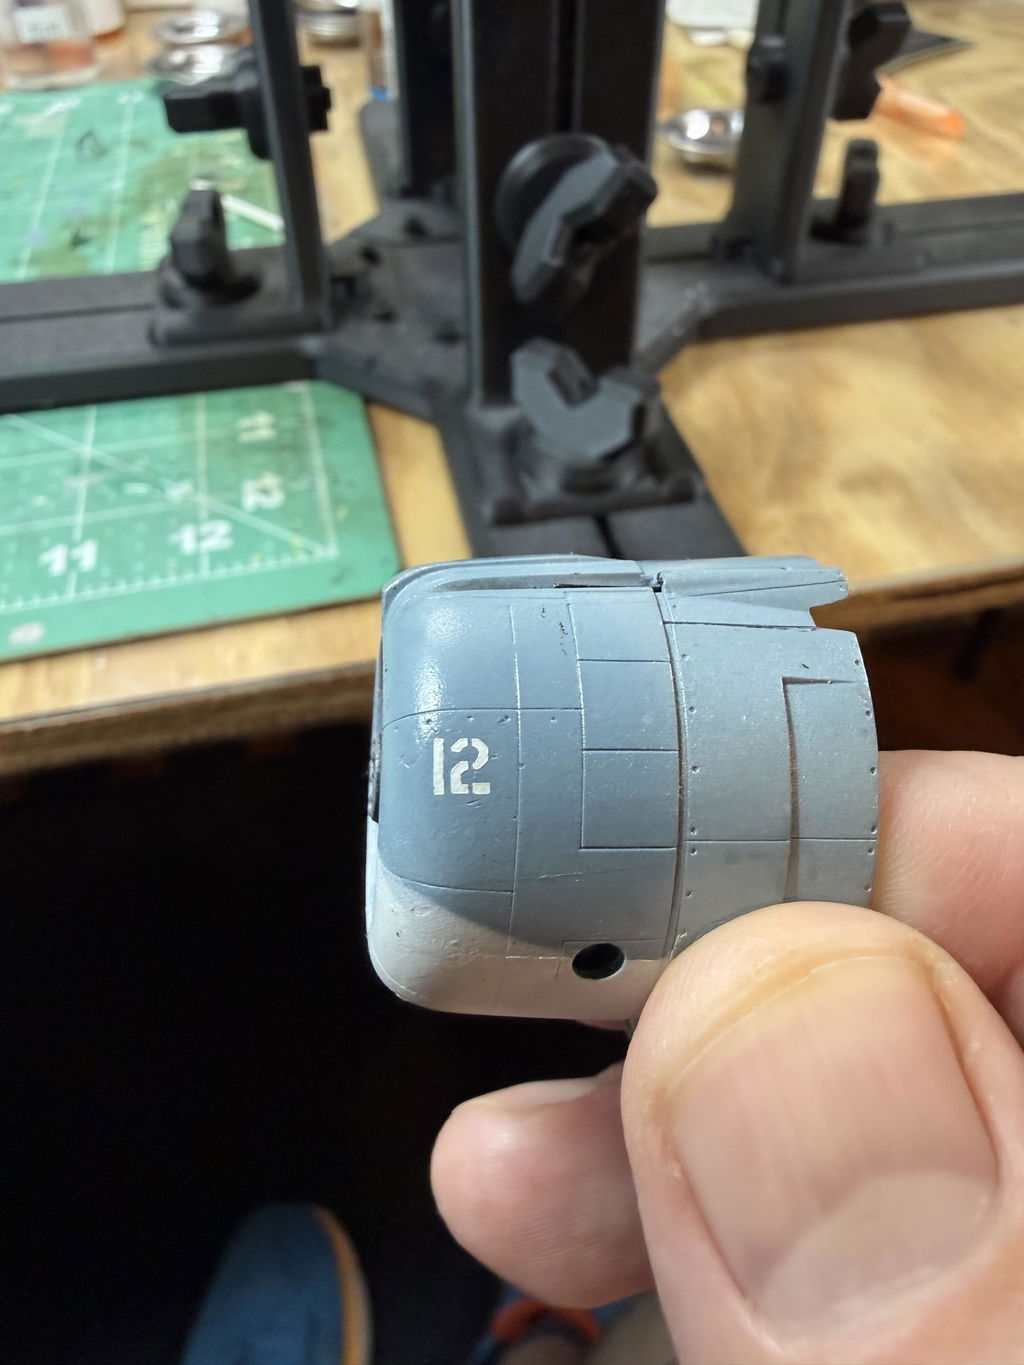
- 17: Aircraft Unit Number Masks, “12” (+2 spares)
- 23: Port Wing Walk Mask (+1 spare)
- 24: Starboard Wing Walk Mask (+1 spare)
- 26: Port Tail Flash Mask (+1 spare)
- 27: Starboard Tail Flash Mask (+1 spare)
Application Tips and Additional Information
➡️ Spare practice masks are provided. Check out our Paint Mask Tutorials page for a step-by-step guide on how to use and apply our masks.
➡️ We include transfer tape with your set! Transfer tape helps accurately transfer and position masks or decals onto the model's surface, maintaining alignment and design integrity while protecting the mask adhesive. Look for two 3"x6" pieces of transfer tape (clear tape with blue grid lines on a white backing) included with your masks.
How to Apply Main Markings Using Transfer Tape
➡️ Due to their size, smaller airframe stencils are required from the kit decal sheet as they do not cut optimally in both vinyl and Tamiya tape (see product image for clarification on what masks are provided).
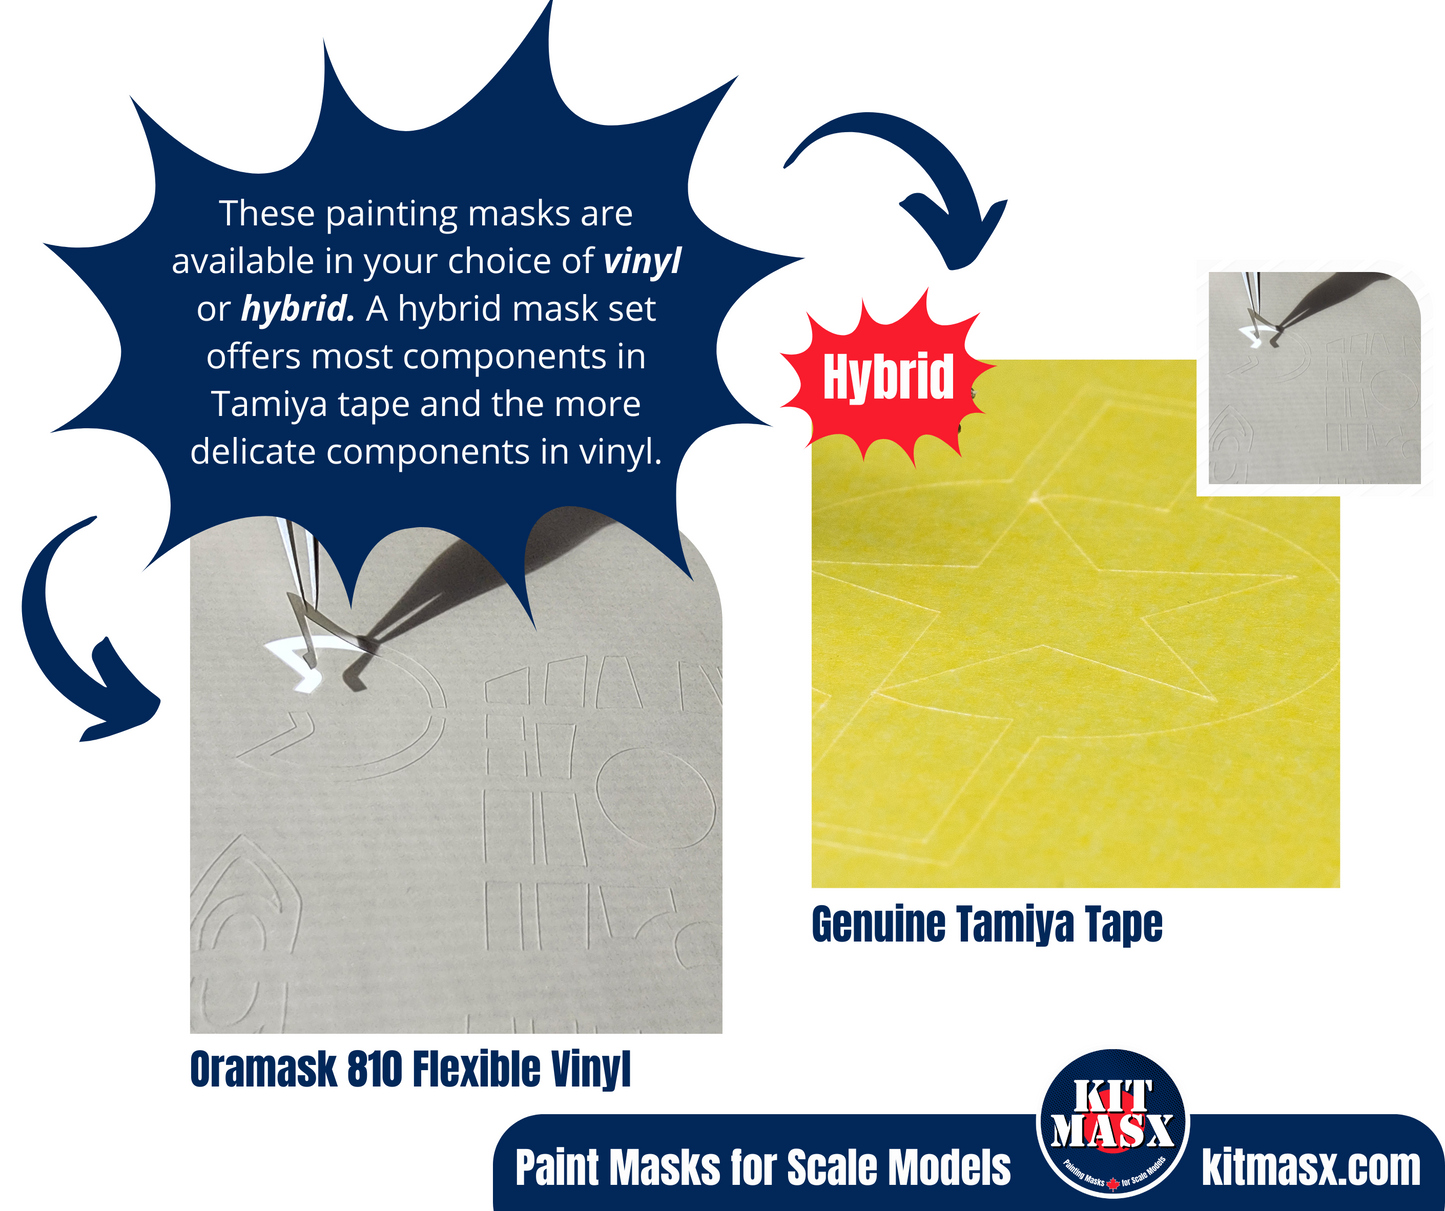
🌟 Choose Your Material 🌟
This set is available in your choice of easy-to-apply Oramask 810 flexible vinyl or a hybrid of genuine Tamiya tape and vinyl.
Why Hybrid? A hybrid set is necessary due to the delicacy and size of some components that do not cut optimally in Tamiya tape. Please refer to the product image for clarity on what components are provided in Tamiya tape and vinyl in this hybrid set. (The area highlighted in grey is provided in Oramask 810 Flexible vinyl. All other masks are supplied in Genuine Tamiya tape.)
What's better - vinyl or Tamiya tape? Both work great! Choose vinyl if you plan to use your masks right away and Tamiya tape if you're tackling your project later on. Check out our FAQ for more info!
Item # 48-117A-1V / 48-117A-1H
Share


I wish I could do a 4.5 star rating because once I figured out my own strategy for applying multi-part masks, I was really impressed with the precision and quality of the masks. The instructional video made multi-part mask application look pretty simple and straightforward. I think the guide had a lot more experience with the product/model making. As a newb, my skill set probably was not ready and I trashed a couple masks and had to order a replacement set. I figured out a different, maybe not as efficient, way to apply that was in line with my skill set at this point. At that point, I felt that I had a better feel for how the tape "acts" and going over the die cut lines with my knife before removing from the backing ensured a clean removal. With that said, the lines are sharp and replicate the decals exceptionally well. I found the the few vinyl masks, primarily for identification numbers, that were included in this set to be pretty easy to work with. I particularly like these because the numbers look really sharp. I've already received the masking set for my next build — the ultimate endorsement I definitely recommend this product but urge patience if you’re new to this sort of thing.
Thank you for taking the time to write such a thoughtful review, Fred — we really appreciate the honesty and the detail you shared about your experience. Please know that if you ever run into issues with a set — damaged masks, mistakes during application, or anything else — you can always reach out to us directly. We’re more than happy to send replacement masks when needed. We want you to be able to finish your build without frustration getting in the way. Out of curiosity, which video were you referring to in your review? Was it one of our tutorial videos? Our designer (Martin) has recently developed an updated design for layered mask sets. It uses more material, but features separate masks for each layer and alignment holes to help with positioning. We’ll be gradually updating our marking sets to use this new format, and we’re planning to post a new tutorial video on our website around mid-April. It sounds like you’ve already developed a really solid technique that works for you — going over the cut lines before lifting the masks is actually a great tip. Vinyl is also typically a more forgiving material for markings than Tamiya tape. We’re thrilled to hear the final results looked sharp, especially the numbers. Thanks again for the recommendation, Fred. We’d love to see the photos when the build is finished!